Common Risks to Floors and Walls During Moves
Why Do Floors and Walls Take the Hit During a Move?
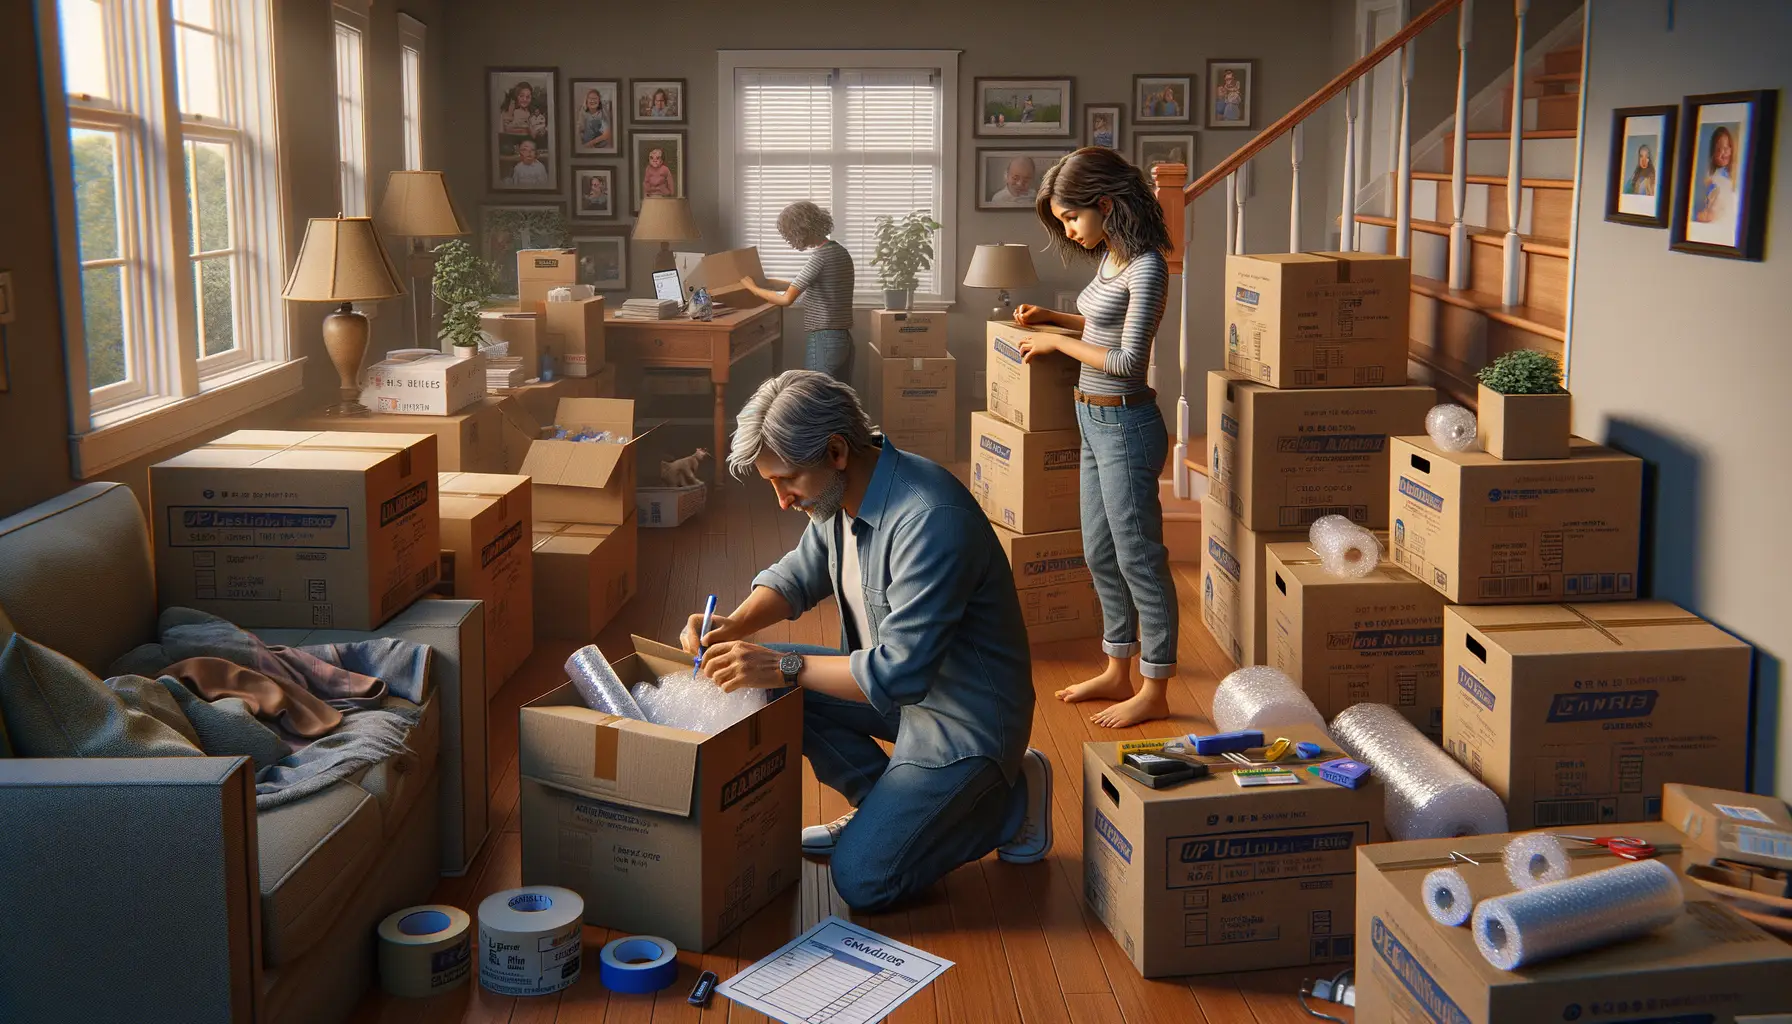
Picture this: it’s moving day. People are rushing, boxes are piling up, and heavy furniture is being hauled across your home like pieces in a giant game of Tetris. Amid the chaos, your pristine floors and walls often become innocent casualties.
Floors are especially vulnerable. Dragging a couch without padding can leave behind scratches deeper than heartbreak. Muddy boots or wet shoes? Say hello to stains and scuffs that love to linger. Tile and hardwood floors may chip under the weight of dropped items, while carpeted areas might not survive mysterious spills and dirt tracked in from outside.
As for walls, even a carefully maneuvered dresser can unexpectedly slam into a corner, leaving dents and chipped paint. Watch out for doorways too—furniture edges have a sneaky way of scraping off that once-flawless finish!
- Heavy appliances—like fridges or washers—can create gouges on both floors and walls during tight turns.
- Moving boxes stacked carelessly may topple, scraping walls or crushing baseboards.
- Sharp-edged packing supplies, like improperly sealed boxes, can cause more than a few regrettable marks.
Don’t let your excitement about moving overshadow these tiny but costly risks. A little planning goes a long way to avoid these disasters!
Preparation Before Your Move
Get Your Supplies and Strategy in Place
Moving without preparation is like setting out on a road trip without a map—you’re bound to hit some bumps. To protect your floors and walls, start by gathering the right supplies. Think of these as your “moving armor.” Here’s what you’ll need:
- Furniture pads and blankets: Perfect shields for heavy items that could scrape or dent surfaces.
- Rubber-wheeled dollies: These are lifesavers for moving hefty furniture while sparing your flooring.
- Painters’ tape: Great for keeping protective coverings like plastic sheets or cardboard firmly in place.
Now, it’s time to strategize. Map out how each piece of furniture will leave the room. Are there tight corners? Narrow doorways? Picture the path, and make adjustments beforehand. Taking a few extra moments to dismantle that oversized sectional can save your drywall later.
Prep Your Space Like a Pro
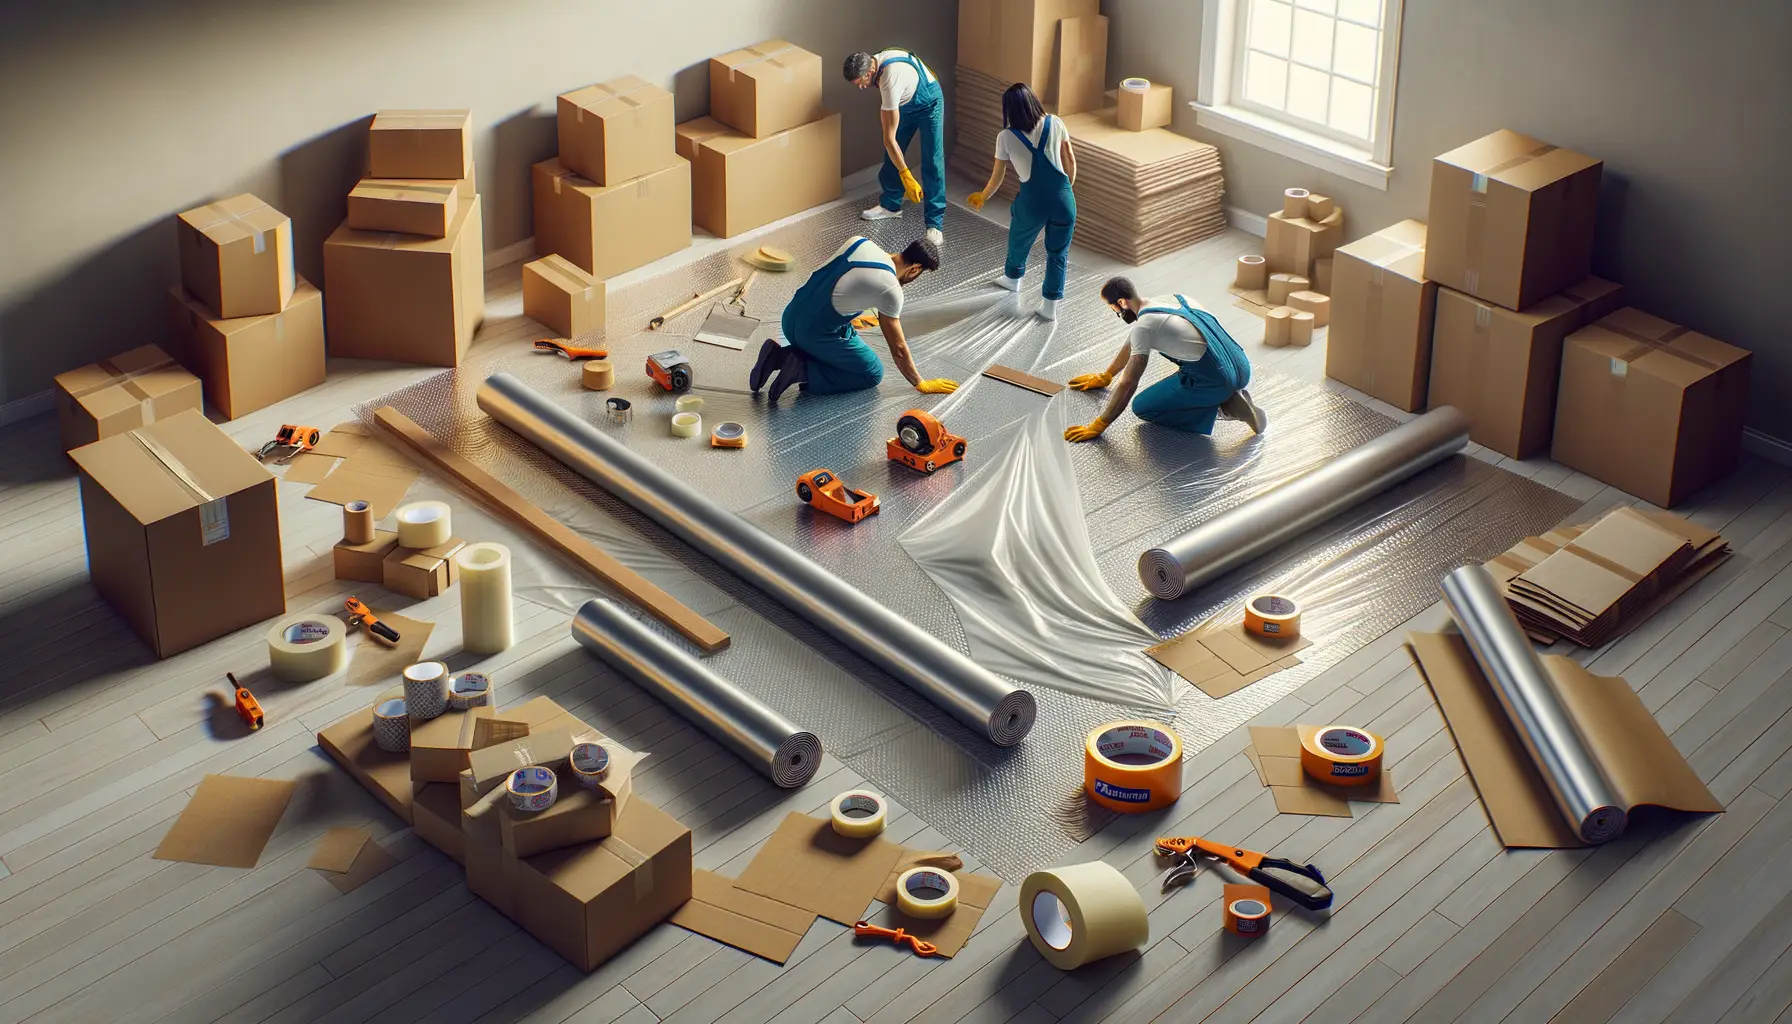
Before the first box gets lifted, turn your home into a fortress of protection. Cover vulnerable areas—door frames, wall edges, staircases—with padding. It’s like giving your house a safety hug! If moving day includes bad weather, place mats or tarps by entryways to combat mud and moisture. A little foresight equals a lot less cleanup.
Protecting Floors During the Moving Process
Smart Steps to Keep Your Floors Pristine
Picture this: your cherished hardwood floor, scratched by a heavy sofa leg, or your favorite carpet smeared with mysterious dark streaks. Heartbreaking, right? Moving can be a thrill, but it turns into a nightmare if your floors fall victim to the chaos. Let’s save them from scars!
Start with the basics—lay down the armor. Use sturdy protective gear like carpet masking film for rugs and plywood sheets or old blankets to shield hardwood or tiles. Want even more protection? Invest in furniture sliders. They’re tiny superheroes that minimize friction, letting you glide heavy items like a breeze.
Here’s a pro tip: create clear pathways. Arrange boxes in a way that prevents extra trips and scatter hazards. And just say no to wet or muddy shoes—keep a doormat handy, or better yet, enforce a sock-only zone.
The Right Tools Save More Than Time
Get creative! Place rubber-backed mats at thresholds to trap dirt before it sneaks inside. For stairways, consider taping rosin paper—it grips well and protects against scuffs. And finally, remember to roll, don’t drag. It’s kinder not only to your body but also to your beloved floors.
Safeguarding Walls from Damage

Prevent Those Pesky Wall Dings
Moving can feel like guiding a bull through a china shop—especially when it comes to protecting those pristine walls. One wrong turn with a bulky couch or awkwardly shaped lamp, and BAM, you’ve got a gouge that whispers regret every time you walk by. Trust me, no one wants that.
But don’t worry, safeguarding your walls isn’t rocket science. Start by padding up! Wrapping corners, banisters, and high-traffic doorframes with heavy-duty materials like foam boards or even thick blankets can make a world of difference. If you’re using professional movers, consider investing in corner guards—they’re like armor for the spots most prone to damage.
- Cushion furniture edges: Add moving blankets and secure them with tape or plastic wrap. Goodbye, sharp edges!
- Clear pathways: Declutter hallways so carrying boxes doesn’t feel like navigating an obstacle course.
And let’s talk about ladders or hand trucks. These tools are lifesavers for lifting, but they also love leaving scuffs behind. Wrap their legs or wheels as extra insurance. Picture this: your walls stay smooth and beautiful, like nothing ever happened. That’s the dream, right?
Post-Move Maintenance and Cleanup Tips
Show Your Floors and Walls Some Post-Move Love
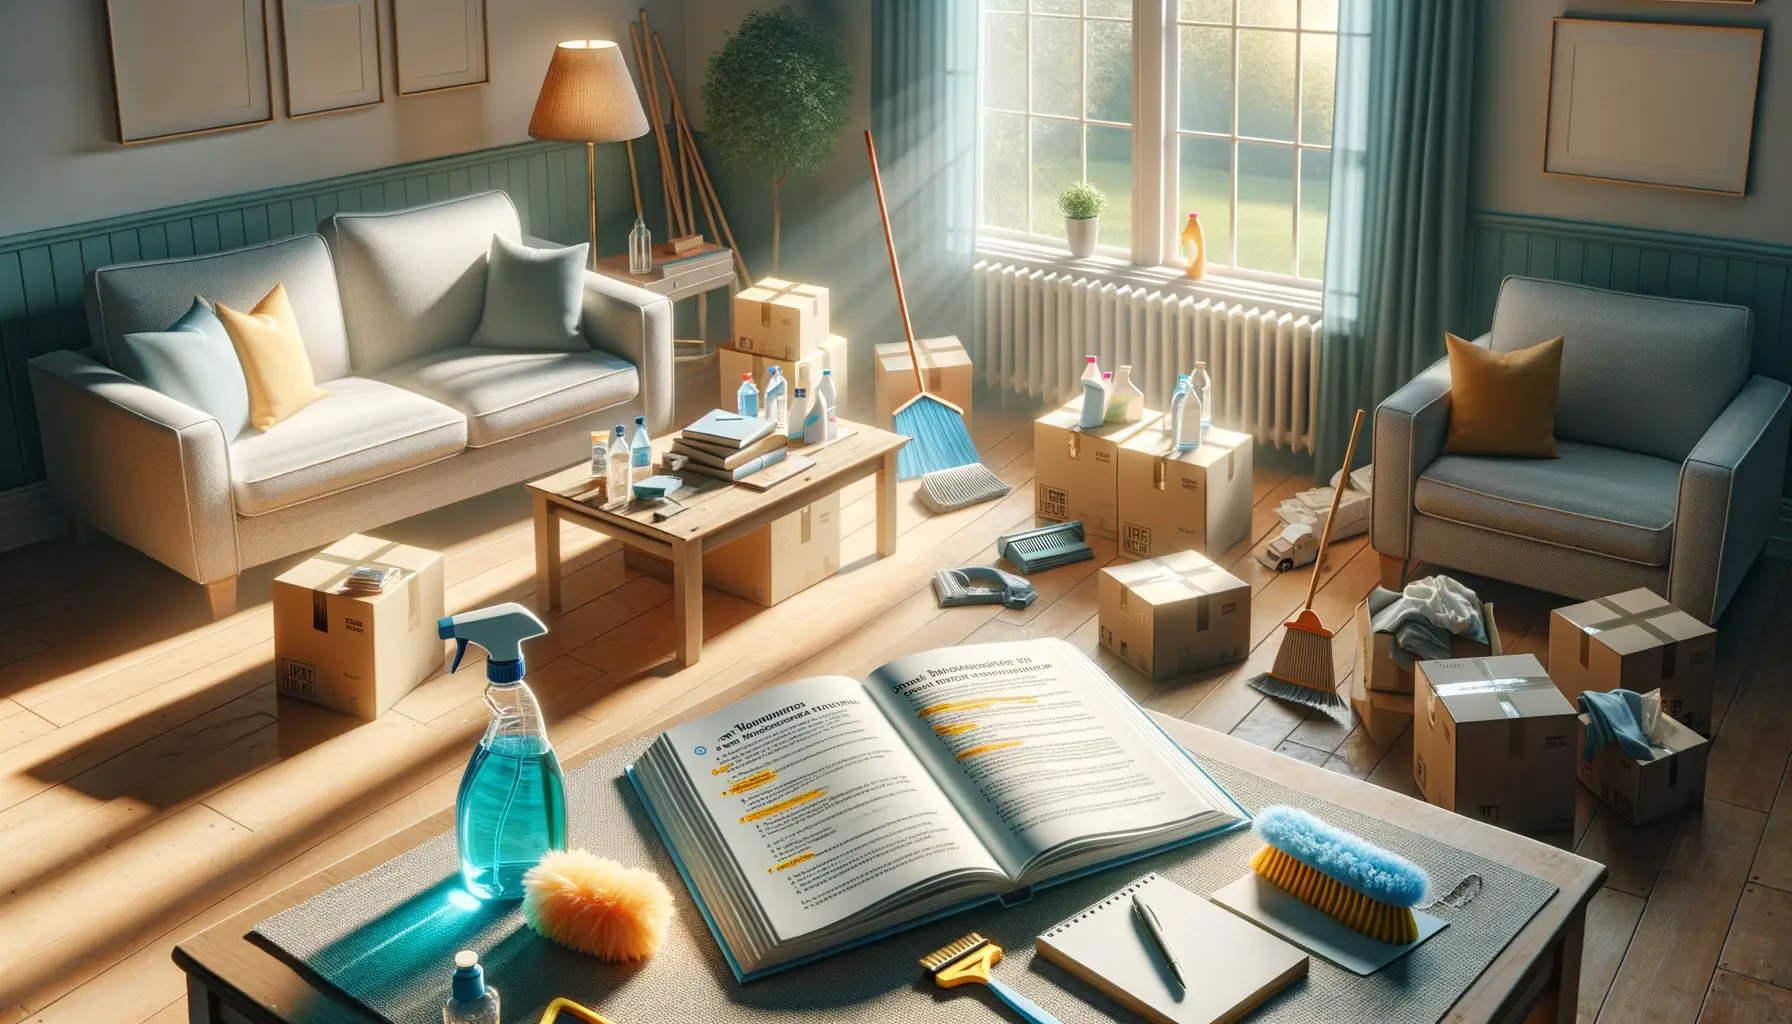
So, the moving truck is gone, and you’re finally in your new space—congratulations! But before you collapse on the couch (if you’ve found it under all those boxes), your floors and walls need a little post-move TLC. Think of it as giving them a fresh start, just like you’re having.
First, take a walk around your new home. Notice any scuffs, scratches, or mysterious marks? These might have snuck in during the chaos of moving. For your beloved floors:
- Use a gentle microfiber mop or cloth to wipe up smudges.
- For scratches on wooden floors, try rubbing a walnut on the spot—yes, this actually works!
- If you’ve got carpets, bring in a vacuum that can tackle deep-set dirt from heavy furniture movement.
A Little Wall Care Goes a Long Way
Your walls deserve some pampering too. Dings and scrapes happen, but they’re easy to fix. Keep a magic eraser handy—it’s your new best friend for removing smudges or fingerprints. Got a nail hole where art was hung? Fill it with spackle, then give it a light sand before painting. Pro tip: Always keep an extra bit of wall paint for touch-ups!
By taking these small, thoughtful steps, you’re not just cleaning—you’re creating a clean canvas to make this house truly yours.